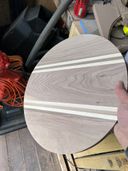
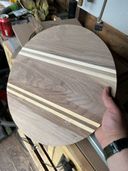
The Pringle
How I made it!

Wood Prep and glueup
I had to go to a specialist wood merchant Chiltern Timber for this one. As it was my first commission and for a friend it couldnt just be anything so I went for American Black Walnut and asked for something with lots of character and a bit of sapwood. I used some strips that were milled up when making the coaster which were very much a test for this.
I used Titebond 3 for the gluing again on this one. Because the boards were much wider it was far easier to get the boards straight.
Cutting the shape
This was stressful!
I used a circle jig with my router. at one point it slipped. Thankfully outwards so it wasnt noticed in the end product. I would definitely do this differently if I had to cut a large cicle again.
After this I instead used the Jigsaw to roughly cut the circle and use the bench sander to get it to final width.
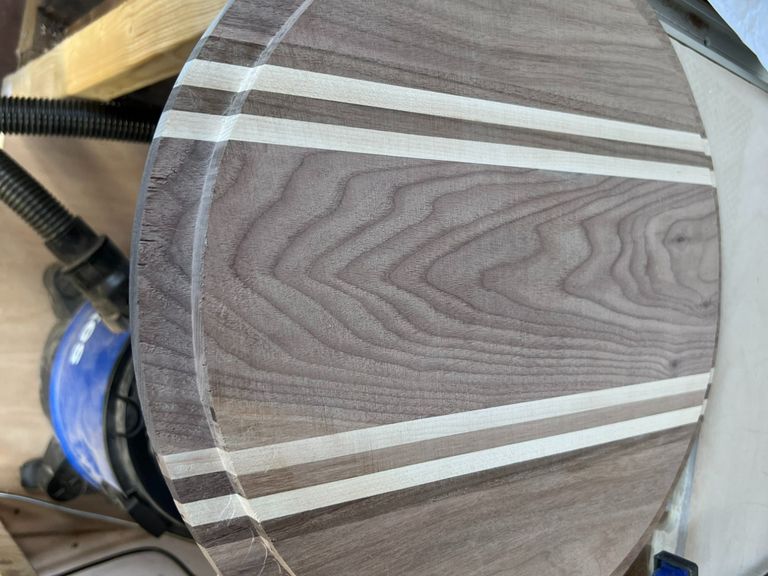
As this was going to sit on a sink I also needed to cut a rabbit into the underside. I used the Router table and a fence to do this and the results were surprisingly good.

Sanding, sanding, sanding and more sanding
All the same steps with the coasters but I didn't underestimate it this time. From bench sansing to 60 grit to 80 - 120 - 240 - 320 grit.
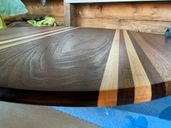
I saw a tip online to mark the board with a pencil between each step. I popped the grain during 120 sanding and it was coming out better thank i'd hoped.
Although it is time consuming you start to see the piece come together at this stage and the popping of the grain gives you a window into what the product will look like when finshed.
Finishing. Or at least I thought it was
Hooray, it was done and looking awesome.
I added a chamfer again as I love the look over a roundover and want it to be a bit of a signature of my work.
The whole board was dipped in mineral oil to penetrate who whole board and then finished with a natural beeswax and mineral oil mix.


Why its called 'The Pringle'
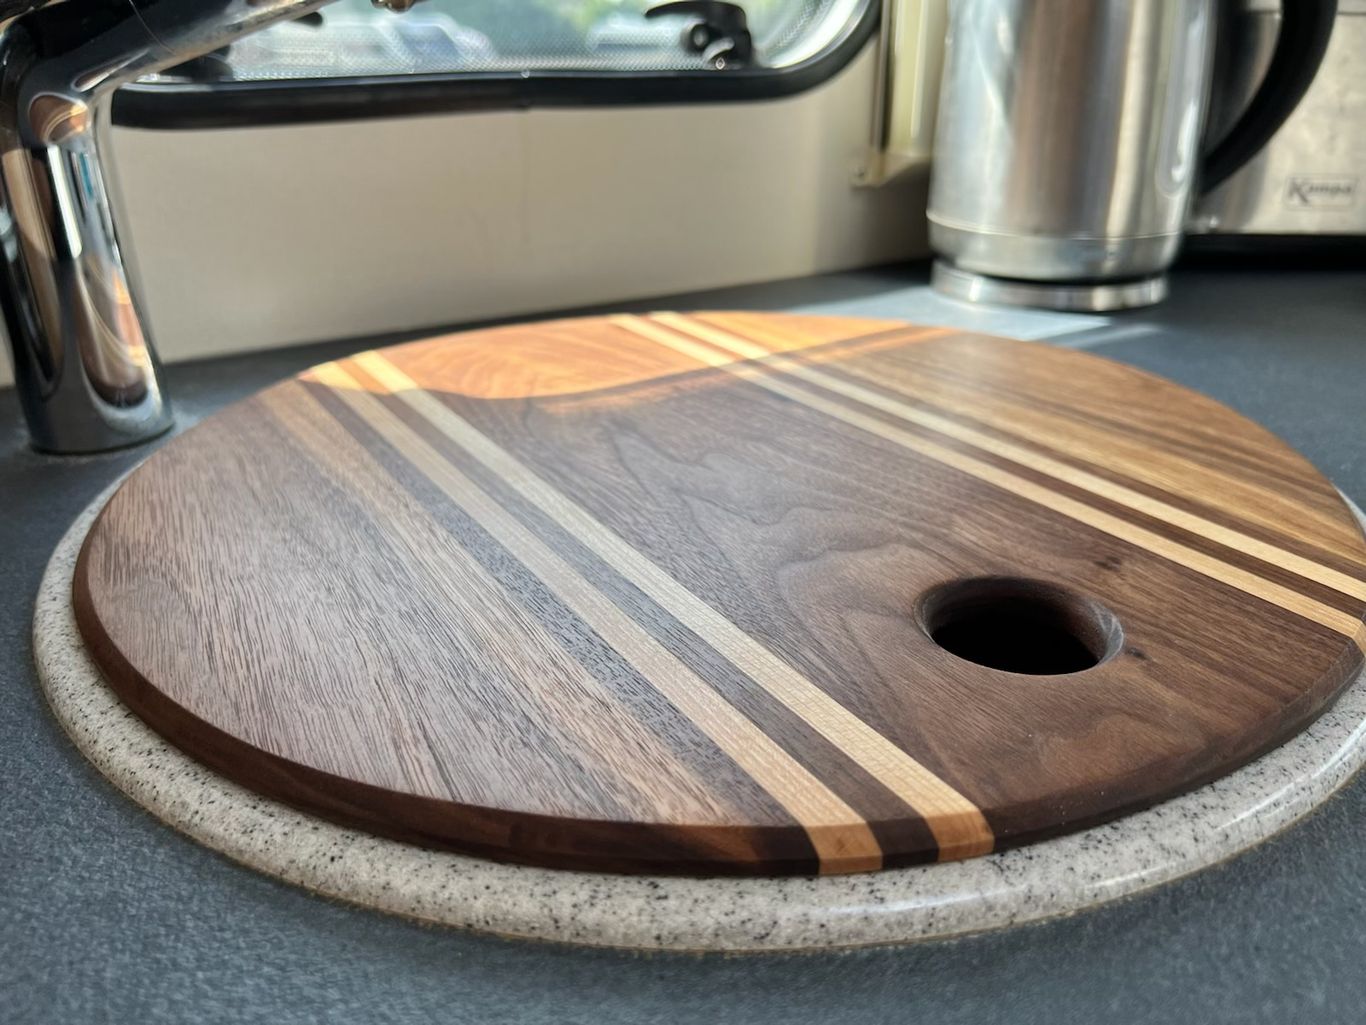
My friend took deliver and it looked awesome. Fitted perfectly and was the ideal accent. ALL GOOD.
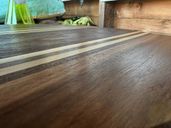
When used in the caravan the cold from the sink below and the heat of the caravan caused it to warp at the sides likening it to a pringle.
The solution was to put a thumb hole in (looks great) and refinish in a more robust finish Odies Oil.
The second iteration was more functional and actually looked awesome. this time it really was DONE!!


